|
Building My Aviaries
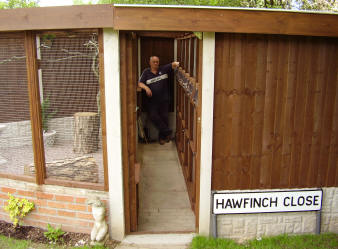
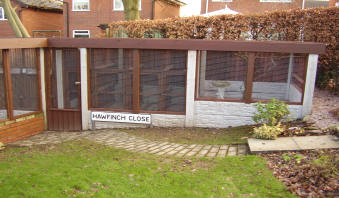
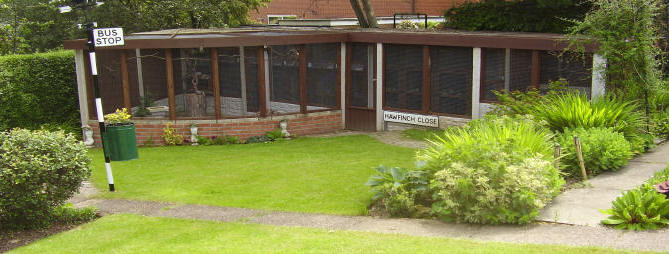
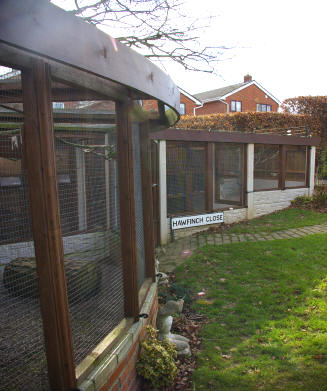
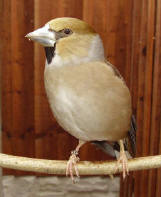
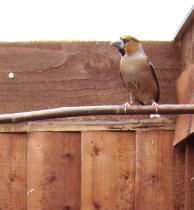
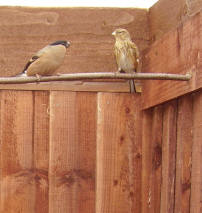
"Hawfinch Close" |
|
|
 |
This was the area that I decided
would be most suitable to house my new breeding unit, first job was to clear
the area |
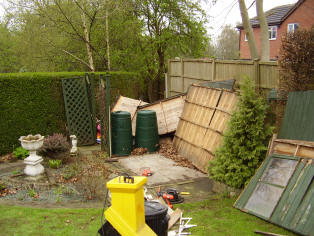 |
Once the area was clear it was time
to draw up the plan of how to best build the unit with a few things in mind.
How the unit would look, to add
a feature to the garden Total cost of unit List of materials that would be
required and most of all how best to
incorporate the units that would prove most productive as a breeding unit. |
 |
 |
|
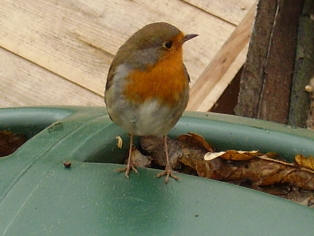
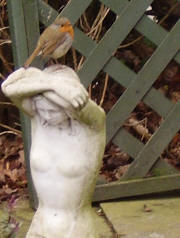
Once I got started I found a
little helper he was great at shifting all the insects and small worms from
around the area, at time he would get under my feet I had to watch I did not
tread on him. Its great to see such trust in a wild bird nothing seems to
bother this Robin even electric saws grinders he found the project very
interesting |
 |
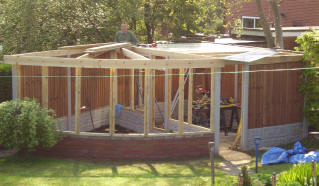
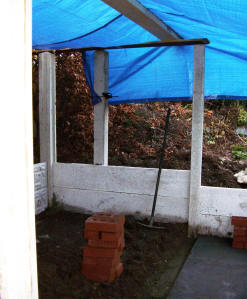
I decided that that wood was a cheaper option but if i
could use concrete fence posts and concrete barge boards , this would never
rot and save money in the long term living in England the climate is not
very well suited to timber the damp winters rot wood very quickly each barge
board measures 6 foot x 1 foot so I decided to use these 2 high this would
help to stop vermin from gaining access to the unit, I used 9 foot
posts, the post holes were dug 2 feet deep in the middle and 2 foot 6 ins at
the back to create a fall on the roof of 6 ins on the open aviary section
the posts were all set at 7 foot as this roof was mesh so did not require
the 6 ins fall |
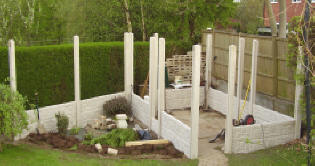 |
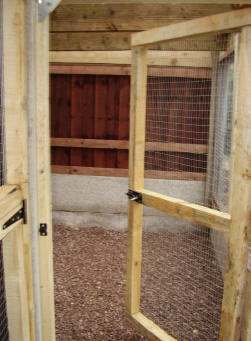
Some of the barge boards had to be cut to create
doorways, where doors were to be fitted no barge boards were used other than
the door to the large aviary I decided to fit one board there, 13 posts and
19 barge boards were fitted and the concreted in using a dry mix this allows
you to move each post all day until you are happy with everything being
square if you then leave the unit overnight the damp in the soil will set of
the concrete.A single
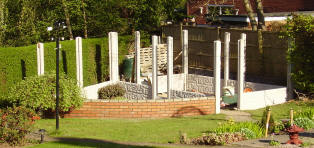
brick wall was the built on a semi circle around the front of the unit. |
 |
 |
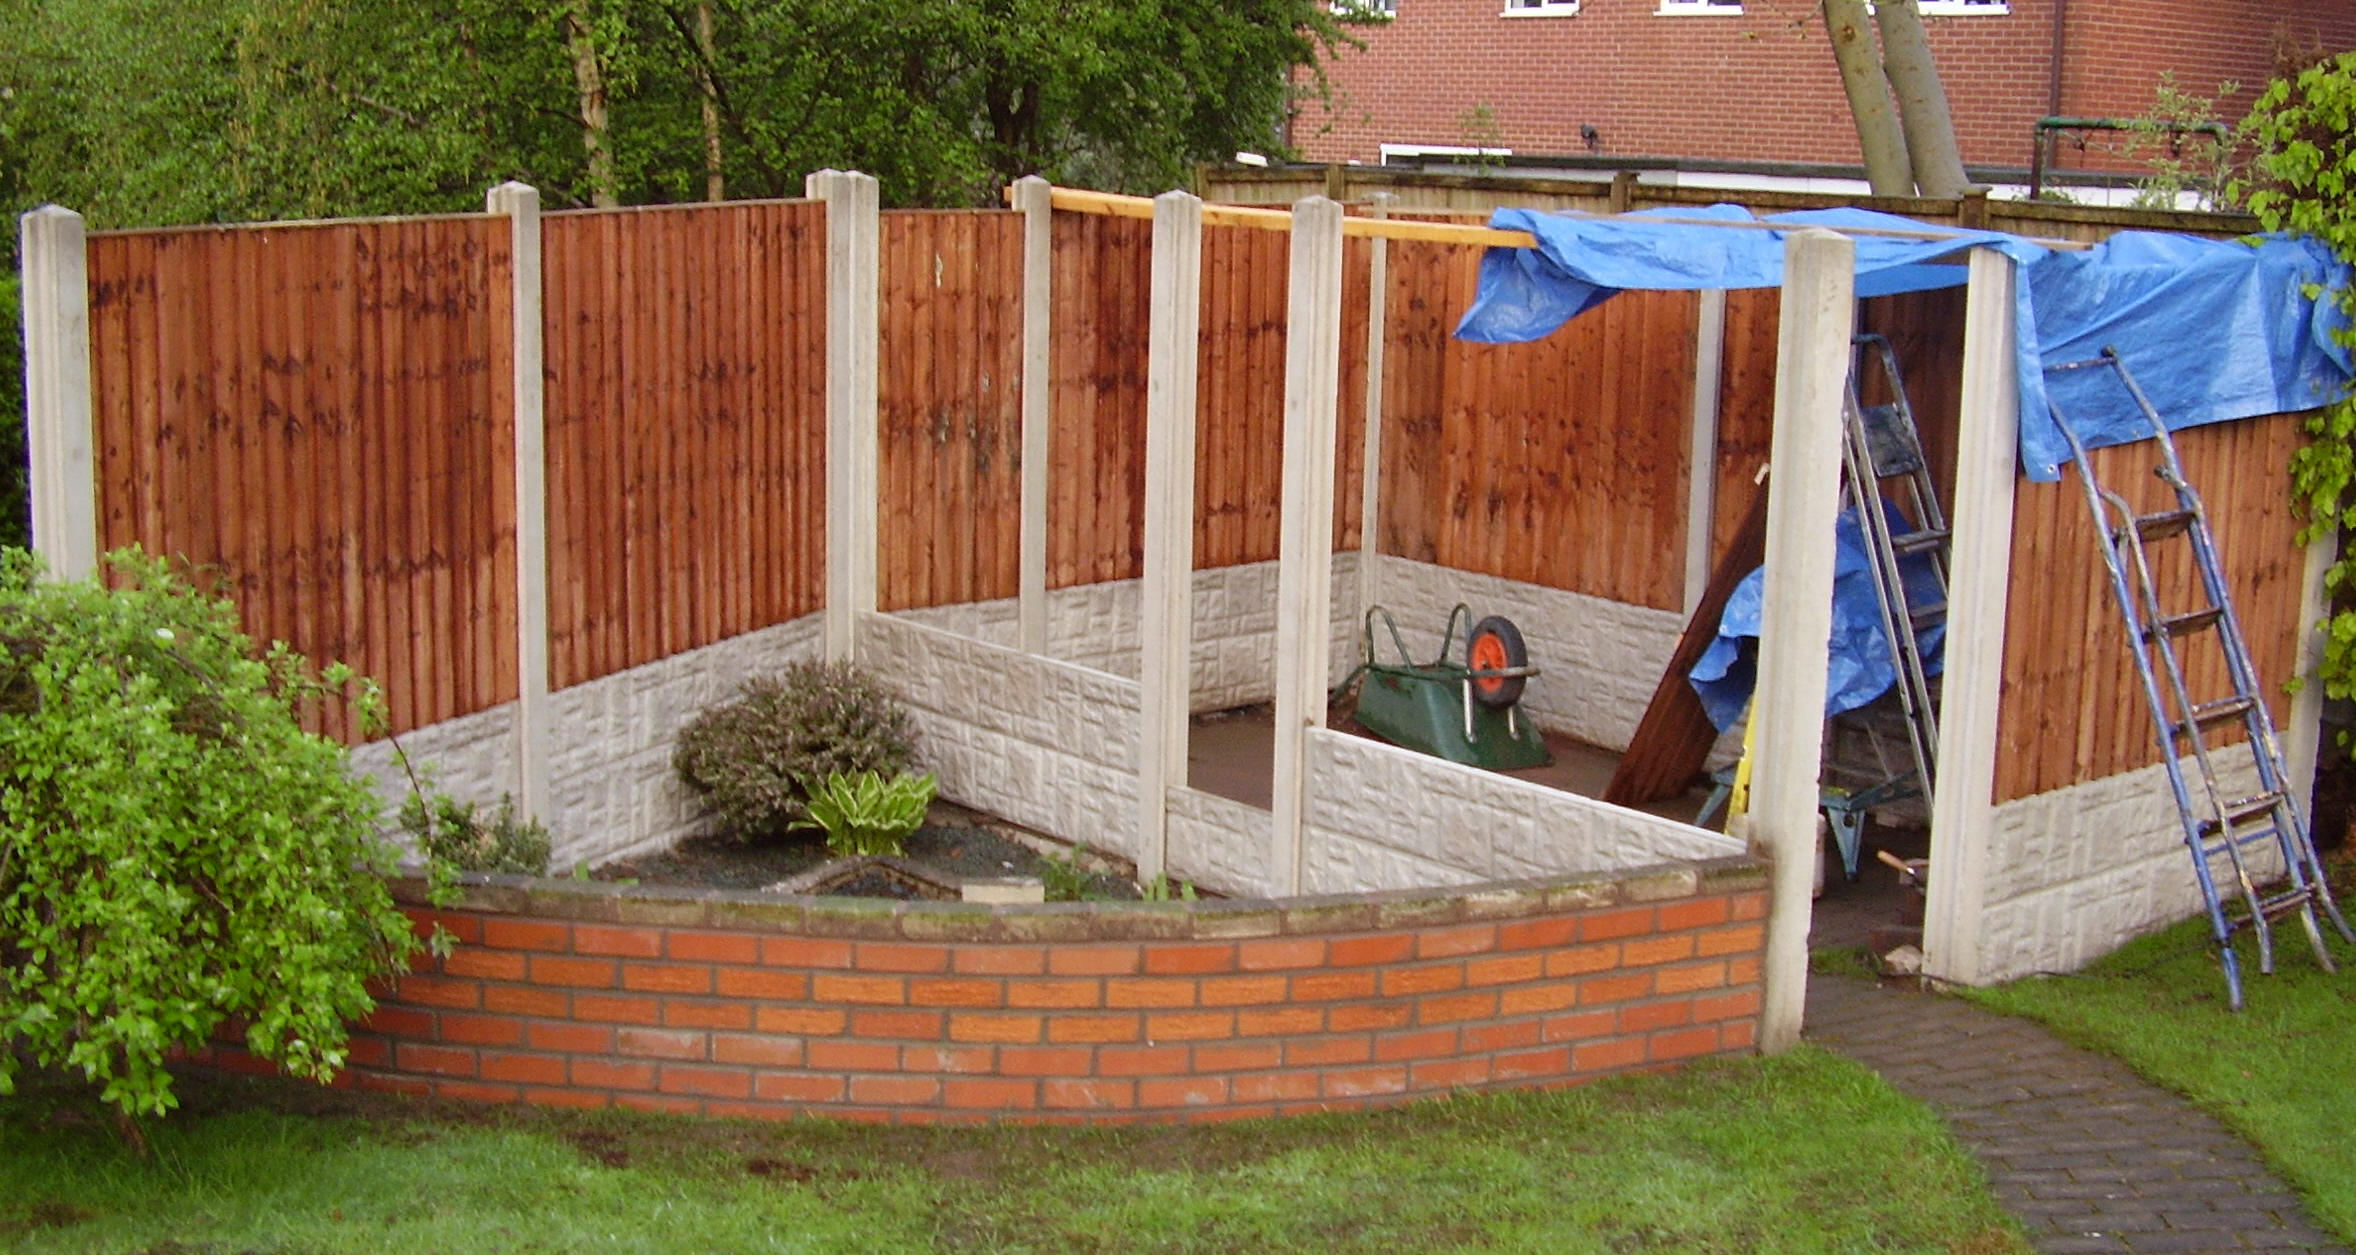 |
Then 7 high quality fence panels were slid in to the
solid areas these were 5 foot panels by 6 foot long to create the walls of
the aviaries as you will probably know concrete posts have slots down either
side and corner posts have slots to allow panels to fit around the corners
the wooden fence panels should be the strongest available and pre
dipped in a tanalising solution to stop any rotting of the panels.
|
 |
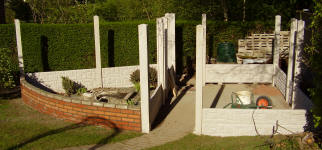
2" x 2" frames were made 5 foot x 6
foot long and mesh stapled on to the frames these were dropped into the
concrete slots where required also door frames were made from 2" x 2" and
they were dropped into slots where required, then 7" x 2" joists were
the notched to drop over the concrete posts to hold the unit square and
create the roof supports for the mesh panels of the roof and plastic roof
sections |
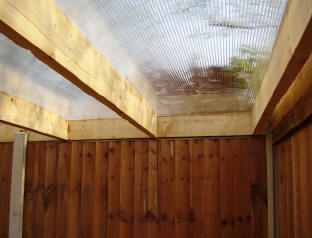 |
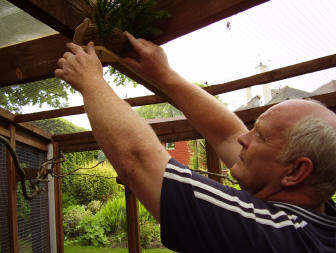
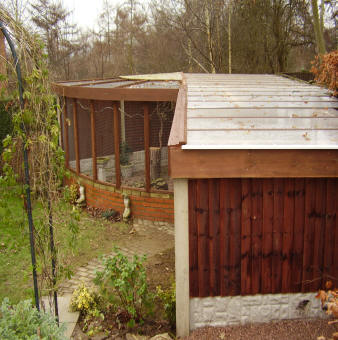
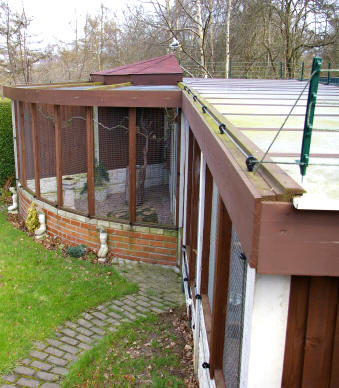
I used duplex
plastic sheeting to cover the solid roof section this gives plenty of light
duplex is a twinwall clear plastic sheet that has an air gap running
through the middle, it is generally used on conservatories this product is
quite expensive but it is very strong and does not drip with condensation in
the winter, also it will stand a brick being thrown on it unlike the cheap
and very brittle corrugated plastic that is normally used |
 |
A facier board was the bent by
soaking in water overnight the slowly bending by fixing from one end of the
main aviary and slowly bent over a few days keeping the wooden facier wet
and fixing it to the roof joints as you go a rope was used at the other end
to hold the tension |
|
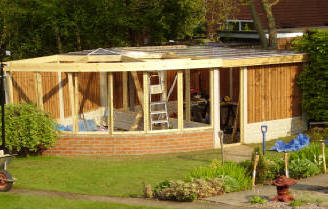 |
this board was
only fitted to improve the finished look of the aviary and to match the
curve of the front wall the facier was made from 8" x 1" planed timber |
 |
 |
|
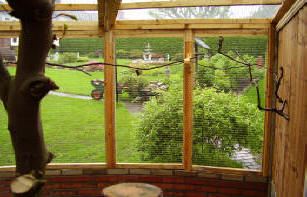
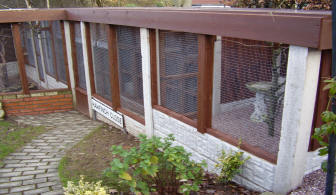
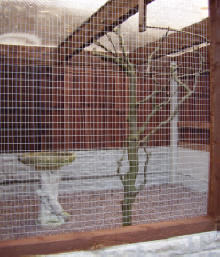
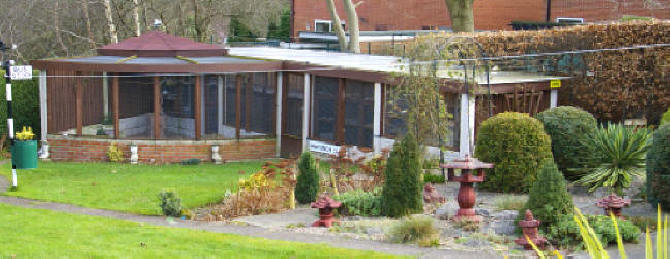
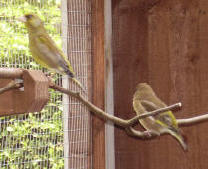
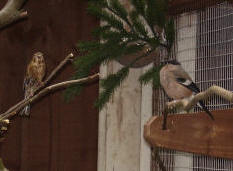
Inside the Larger aviary this
aviary measures 14 foot x 12 foot with the front rounded |
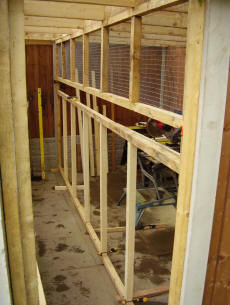 |
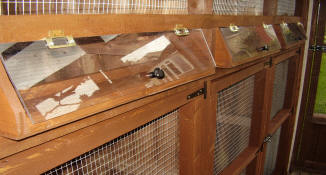
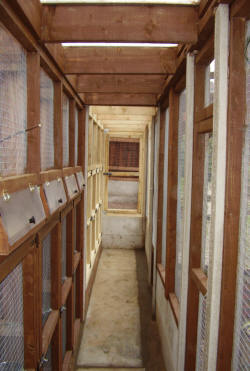
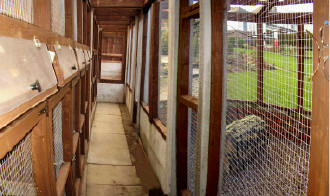
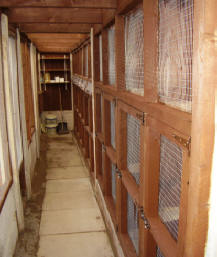
Start of 6 inside
flight pens measuring 7ft tall x 6 foot deep x 30 ins wide and 3 foot
walkway |
 |
|
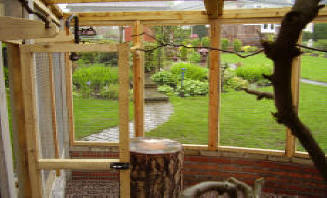
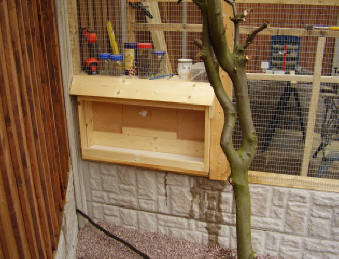
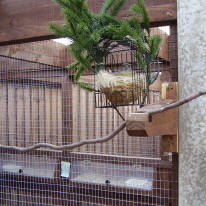
Feeding Station from walkway with
drop down back so you can feed without going inside aviary |
|
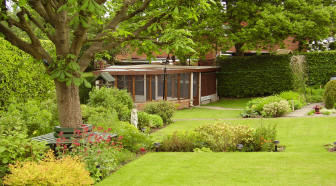
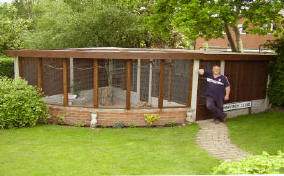
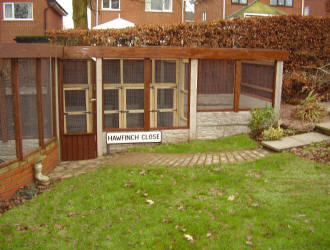
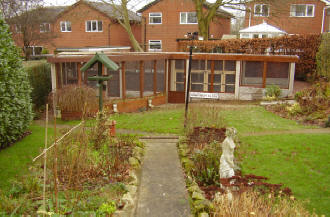
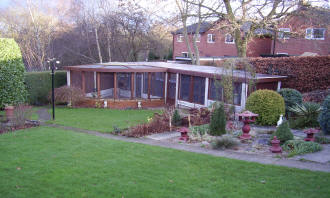
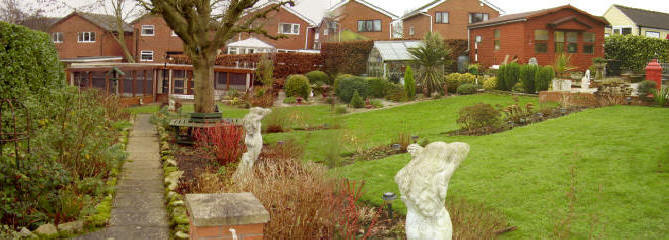
FINISHED
AVIARY & BREEDING PENS |
 |
 |
 |
 |
 |
 |
 |
|
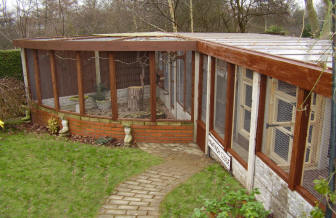
AVIARY & BREEDING PENS EXTENSION |
|
|
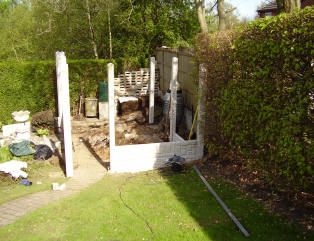
Now the winter is here this is the
best time to do your work on your aviaries, so with this in mind I decided
to increase my aviaries it was decided to add 4 more breeding pens and
finish of the unit with a 6ft x 6ft Aviary, work started early December
before the freezing weather
|
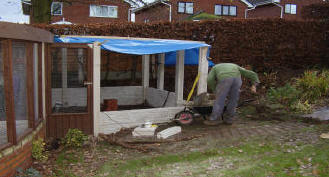 |
We had lots of rain but managed to
keep working using a tarpaulin
|
|
|
|
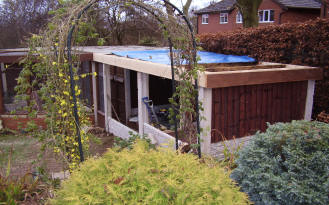 |
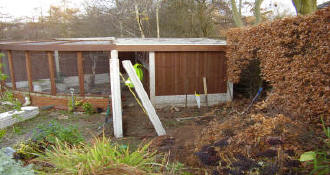
This extension measures 15ft x 8ft
you can now see how the new block will look
|
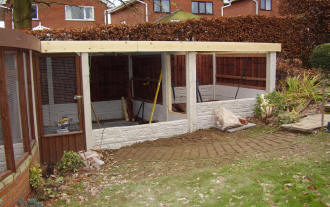 |
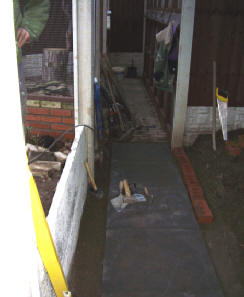
A lot of ground had to be dug out
to keep this unit level, as you can see on this photo, if my garden had been
level it would have made this job easy also the December weather did not
help.
|
 |
To get to this point took 5 days
hard work , but I think it will be worth it. the unit now measures 31ft
across. |
 |
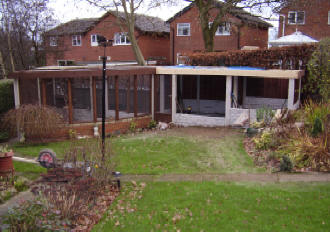
From this picture you can now see
the extra 4 breeding pens, and far right is the 6ft square Aviary, the
outside has been weatherproofed just the inside to paint, this will have to
wait now until after Christmas, to get the unit to this point took 2 of us 7
full days. |
|
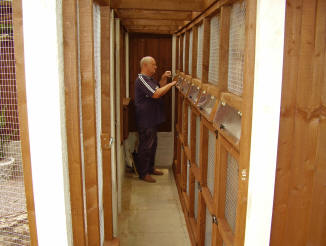
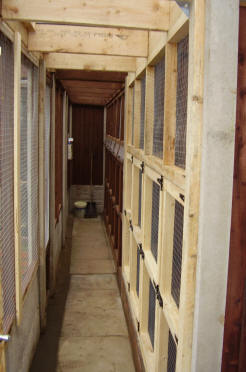
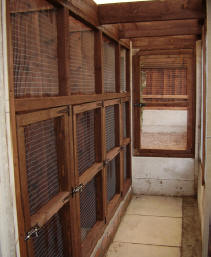
Below right looking down the
safety walkway you can now see the 10 aviaries on the right the measure
30ins wide and 7ft 6ins tall
Below left at the back of
this picture you can see the door to the 6ft Aviary |
|
|
|
 |
 |
 |
 |
 |
|
Extension
After Painting |
|
6
ft x 6ft aviary |
Looking down the duplex roof giving
plenty of light |
|
|
 |
 |
 |
 |
 |
 |
 |
|
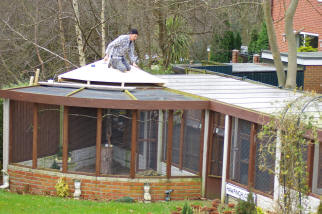
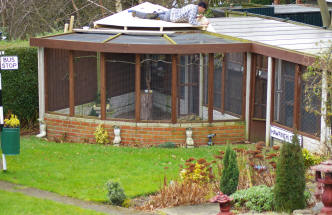
Fitting a pitched roof to the large
aviary |
To
create a small feature |
 |
 |
|
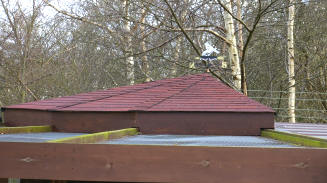
Felt tile roof to match Birdroom
roof |
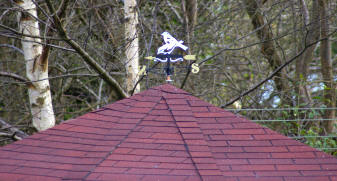
Fitting a weathervane to the top of
the roof |
 |
 |
 |
|
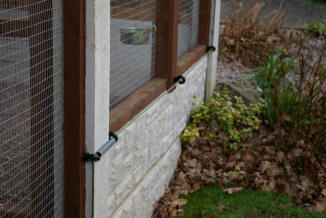
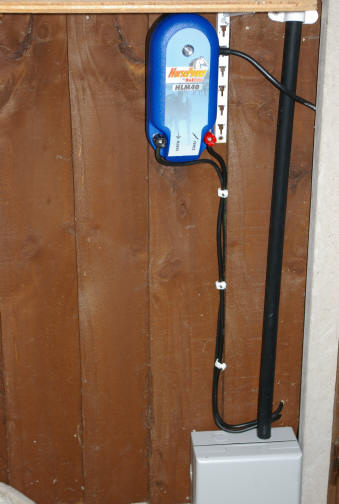
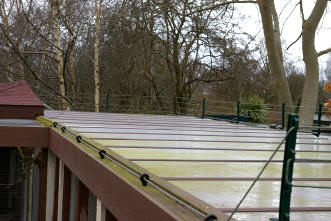
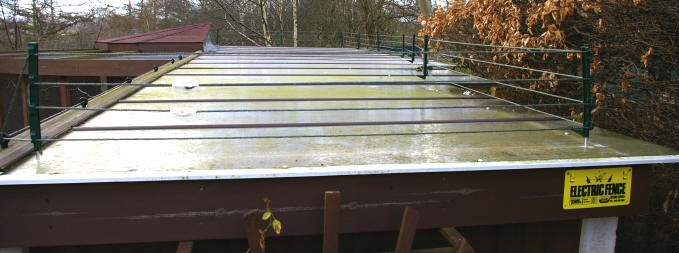
12volt Fence to stop animals from
getting near aviary |
 |
|
Stops Cats Squirrels and Foxes from
getting on the Aviary roof and disturbing breeding pairs |
 |
|
|
single 12volt wire around base
|
Does not hurts pets but they
wont touch it twice |
 |
|
 |
|
 |
 |
 |
|
|